
Hello friends, I got lots of questions regarding WordPress. So I am going to start a series which will contain everything releated to it and the asked questions. You can find all of them under the top WordPress menu item. Let gets started. Most of you have installed wordpress on their web host but only few have tried installing on your computer. Installing WordPress on your computer helps to design and plan things more easily before making it live.
Advantages
1. No need to worry if the website goes down or some error occurs because it is common while we are learning it.
2. Working on your own computer is faster then working on remote server.
3. Internet not required. You can work on your laptop amidst nature with no wifi.
4. You are more creative because you are worry free.
5. You will have a backup with you.
6. Help debug issues more easily as you have all the code.
Requirements
1. Atleast 2 GB of space on you computer
2. Some patience
Steps
Step 1: Install a Apache/Php/MySQL
The first step is to install a local server where your WordPress will run. Php and mysql for the code and database. I will tell a very simple procedure to install all three. Download and install xampp it contains all 3. Click here to download it.
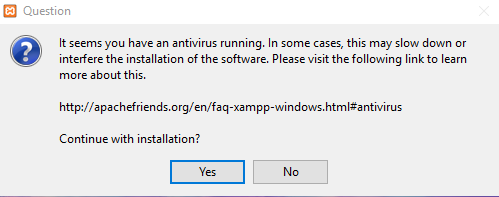
Once downloaded, launch its installer, it might ask you some question like the one below, so you need to click yes.
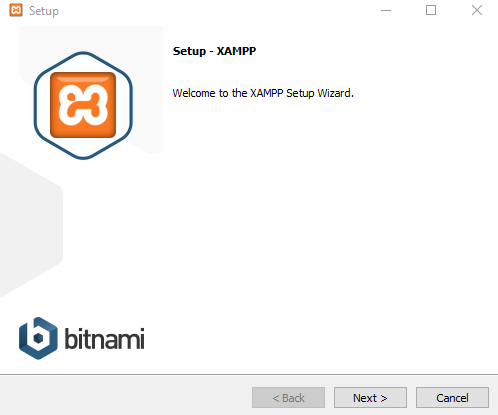
The setup wizard will guide you through the installation. Following screen will show, click next
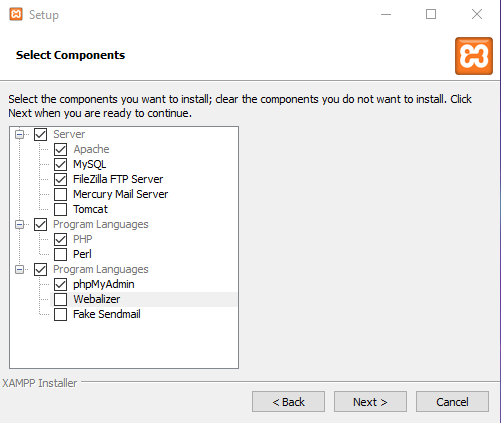
On Clicking next, the select component screen shows up. We will select only required components i.e. Apache, Php and MySQL
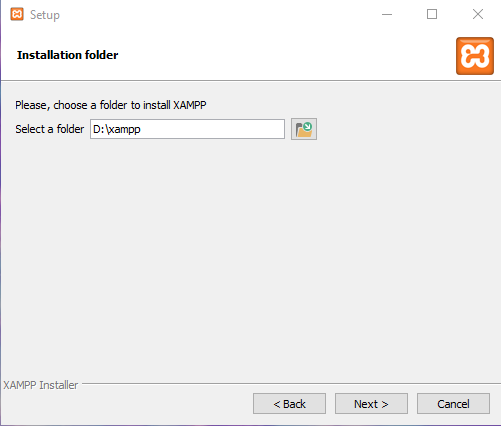
Then we need to select the installation folder. I will highly recommend to install it on any other drive other than you windows. My be D: drive like I select in the following image.
Then the installation will start and install the 3 components and finally will ask you to start control panel now. Check the checkbox and click Finish. The the control panel will show up like below.
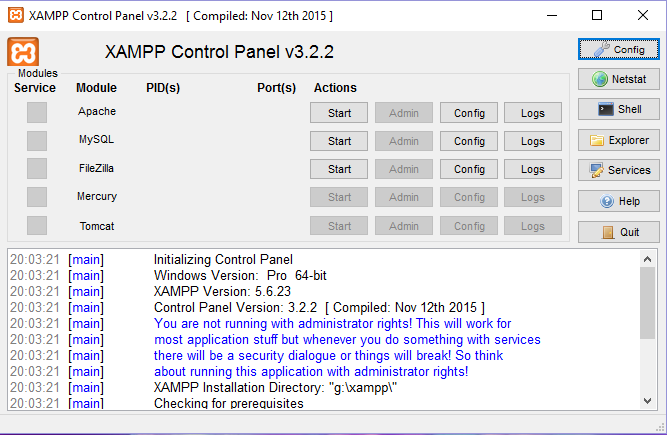
Click the start for Apache and MySQL and you are done. You can check by going to url http://localhost on you web browser.
Step 2: Installing wordpress
Download zip of wordpress installation from http://wordpress.org
Once downloaded extract the zip to a folder.
Now go to the xampp installation folder then go to htdocs folder. Htdocs folder the root folder for all websites. Create a new folder like ‘wp’ and copy the contents of the extracted wordpress to this new folder. Make sure the wp-content folder is just inside the ‘wp’ folder.
Then we will create a database. Open your web browser and enter the url http://localhost/phpmyadmin/. Click New on the top left and then enter the database name ‘wp’ in the text box under ‘Create database’ on right. Please note that the database name we set is ‘wp’ and user is ‘root’ by default and there is no password. These information will be required to be entered while installing WordPress.

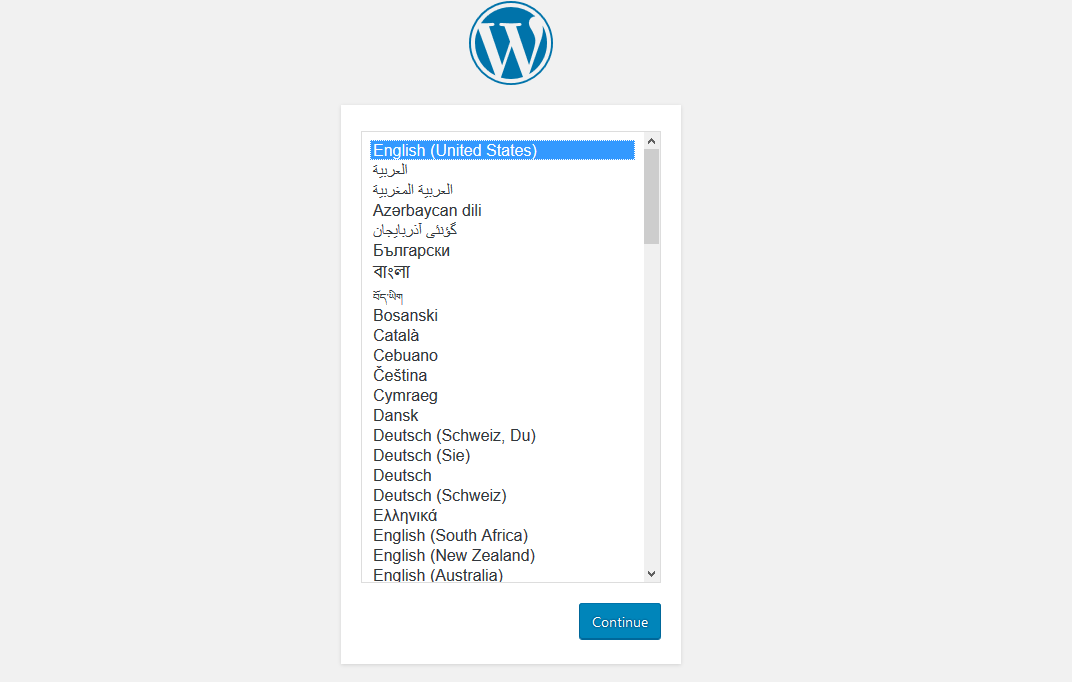
Now open another browser tab and enter the address http://localhost/wp/ . Note ‘wp’ is the folder name where our wordpress files are. You will see the following screen. You can select language of your choice.
Then there will be screen for instructions on creating database, which we have already created, just click let’s Go and you will be presented with the following screen where you enter the details like I did in the image.

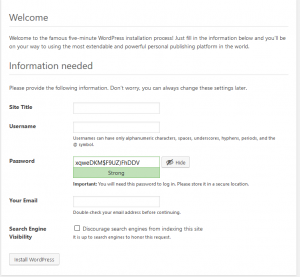
Then you will need to input the site details – Site name, admin details etc in the following screen.
That’s it, once you entered the details you can login and start developing an awesome website. Please leave me any comments, queries you have. I will try to reply at he earliest.
